Kenmore Dishwasher 665 Repair Manual: A Comprehensive Plan
This detailed guide offers comprehensive repair information for Kenmore 665 dishwashers, including manual access, troubleshooting, and parts diagrams from Sears Parts Direct.
The Kenmore 665 dishwasher represents a popular model within the Kenmore appliance line, known for its reliability and functionality. Understanding its core components and operational principles is crucial for effective repair and maintenance. This series, encompassing various prefixed models like 665.1328, offers a balance of features for everyday household needs.
Before diving into repairs, familiarize yourself with the dishwasher’s basic functions and common issues. Accessing the correct service manual, as highlighted by available resources, is paramount. These manuals provide detailed diagrams and troubleshooting steps specific to the 665 series. Remember that a simple reset – unplugging the unit for five minutes – can often resolve minor operational glitches. Proper diagnosis, guided by the manual, will streamline the repair process and ensure optimal performance of your Kenmore 665 dishwasher.
Understanding the 665 Model Series
The Kenmore 665 dishwasher series isn’t a single, monolithic design; rather, it encompasses numerous models differentiated by suffixes following the “665” prefix. This means variations exist in features, component layouts, and even specific repair procedures. Identifying your exact model number (e.g., 665.13869K602) is therefore the first, and most critical, step before attempting any repair work.
Sears Parts Direct emphasizes the importance of this precise identification for locating the correct parts diagrams and service manuals. While core functionalities remain consistent across the series, subtle differences can significantly impact repair strategies. Understanding these nuances prevents incorrect part ordering and ensures compatibility. Resources indicate that manuals cater to “ALL 665 PREFIX MODELS,” but verifying specifics for your unit is always recommended for a successful repair outcome.
Locating the Correct Repair Manual
Finding the appropriate repair manual for your Kenmore 665 dishwasher is paramount for successful troubleshooting and repair. Sears Parts Direct is a primary resource, offering downloadable manuals and diagrams specifically for Kenmore appliances. Searching by your complete model number – including the prefix “665” and all subsequent digits – is crucial for accuracy.
While some resources mention manuals covering “ALL 665 PREFIX MODELS,” it’s wise to confirm the manual’s applicability to your specific unit. Online searches utilizing your full model number alongside terms like “service manual” or “repair guide” can yield additional results. Remember to prioritize official Kenmore documentation or reputable appliance repair websites to ensure the information is reliable and safe to follow. A correct manual will detail disassembly, component identification, and repair procedures.
Safety Precautions Before Repair
Prioritizing safety is essential before attempting any repairs on your Kenmore 665 dishwasher. Always disconnect the power supply. This means either unplugging the dishwasher from the electrical outlet or, preferably, switching off the corresponding circuit breaker in your home’s electrical panel. Water and electricity are a dangerous combination, so ensure the appliance is completely de-energized.
Wear appropriate safety gear, including eye protection to shield against splashes or flying debris, and gloves to protect your hands. Be mindful of sharp edges during disassembly. If you’re unfamiliar with electrical work, it’s best to consult a qualified appliance repair technician. Never attempt repairs while standing in water or on a damp surface. Following these precautions will minimize the risk of electric shock or injury.
Essential Tools for Kenmore 665 Repair
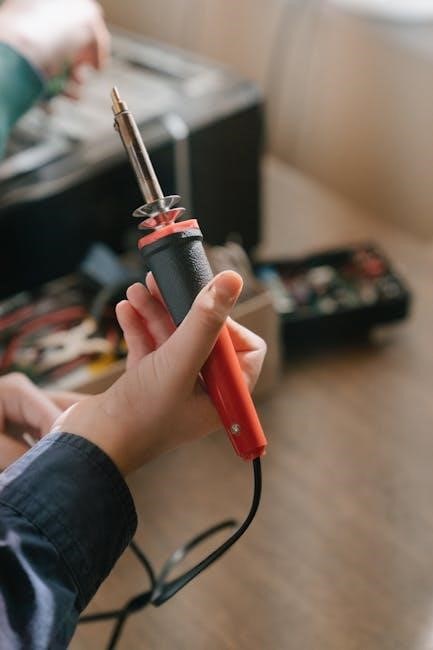
Successfully repairing your Kenmore 665 dishwasher requires a specific set of tools. A Phillips head screwdriver is crucial for accessing internal components. A flathead screwdriver will also be needed for various tasks. Pliers, including needle-nose pliers, are essential for gripping and manipulating small parts. A multimeter is vital for testing electrical continuity and voltage, ensuring safe and accurate diagnostics.
Consider having a socket set and adjustable wrench for dealing with larger fasteners. A voltage tester confirms power is off before working on electrical components. Don’t forget a work light to illuminate dark areas within the dishwasher. Finally, a small container to hold screws and parts prevents loss during disassembly. Having these tools readily available streamlines the repair process.
Common Problems & Troubleshooting
Kenmore 665 dishwashers can experience several common issues. If the dishwasher isn’t starting, check the power supply and reset the control board by unplugging it for five minutes; Poor cleaning performance often stems from clogged spray arms or a malfunctioning wash pump. Leaking issues can arise from a faulty door gasket, loose connections, or a damaged drain hose.
Unusual noises during operation might indicate a failing wash pump motor or debris obstructing the impeller. Before disassembly, always verify the issue isn’t simply a blocked drain. Regularly inspect the drain hose for kinks or clogs. Remember safety first – disconnect power before any internal inspection or repair attempt.
Dishwasher Not Starting
If your Kenmore 665 dishwasher fails to start, begin with the simplest checks. Ensure the appliance is receiving power – verify the outlet is functioning correctly with another device. Next, examine the control panel for any error codes or illuminated indicators. A common solution is to reset the control board; simply unplug the dishwasher or switch off the breaker for a full five minutes.
This allows the system to fully discharge and potentially resolve minor glitches. Check the door latch assembly; a faulty latch won’t allow the cycle to initiate. Inspect the thermal fuse, as a blown fuse will prevent operation. If these steps don’t resolve the issue, further diagnostics may be needed.
Poor Cleaning Performance

Experiencing unsatisfactory cleaning results with your Kenmore 665 dishwasher? Several factors could be at play. First, confirm proper loading techniques – avoid overcrowding and ensure spray arms aren’t obstructed. Inspect the spray arms themselves for clogs; remove and clean any debris from the nozzles. A malfunctioning wash pump or motor can significantly reduce water circulation, impacting cleaning efficacy.
Verify the water inlet valve is functioning correctly, providing adequate water supply. Check the detergent dispenser for blockages or malfunctions. Finally, ensure you’re using the appropriate detergent type and quantity. A buildup of food particles or hard water deposits can also contribute to poor performance, necessitating a thorough cleaning cycle with a dishwasher cleaner.
Leaking Issues

Discovering water leakage from your Kenmore 665 dishwasher demands immediate attention to prevent potential water damage. Begin by inspecting the door gasket for cracks, tears, or improper sealing. A damaged gasket requires replacement. Examine the water inlet valve and its connections for any signs of leaks; tighten connections or replace the valve if necessary.
Check the drain hose and its connections for cracks or looseness. Inspect the pump and motor assembly for leaks, particularly around the seals. A faulty pump seal often necessitates pump replacement. Also, verify the spray arm connections are secure. Finally, ensure the dishwasher is level; an uneven dishwasher can cause water to spill during operation.
Unusual Noises During Operation
Strange sounds emanating from your Kenmore 665 dishwasher often indicate a mechanical issue requiring investigation. Grinding noises frequently point to a failing wash pump or motor bearings, potentially needing replacement. Rattling sounds could stem from loose spray arms, food debris obstructing the pump, or items improperly loaded.
Humming noises, without water circulation, might suggest a blocked drain pump or a failing motor. Clicking sounds could indicate a malfunctioning solenoid or control panel issue. Carefully listen to pinpoint the noise’s origin. Inspect the pump for obstructions, check spray arm security, and assess the motor for wear. Addressing these issues promptly prevents further damage and restores quiet operation.
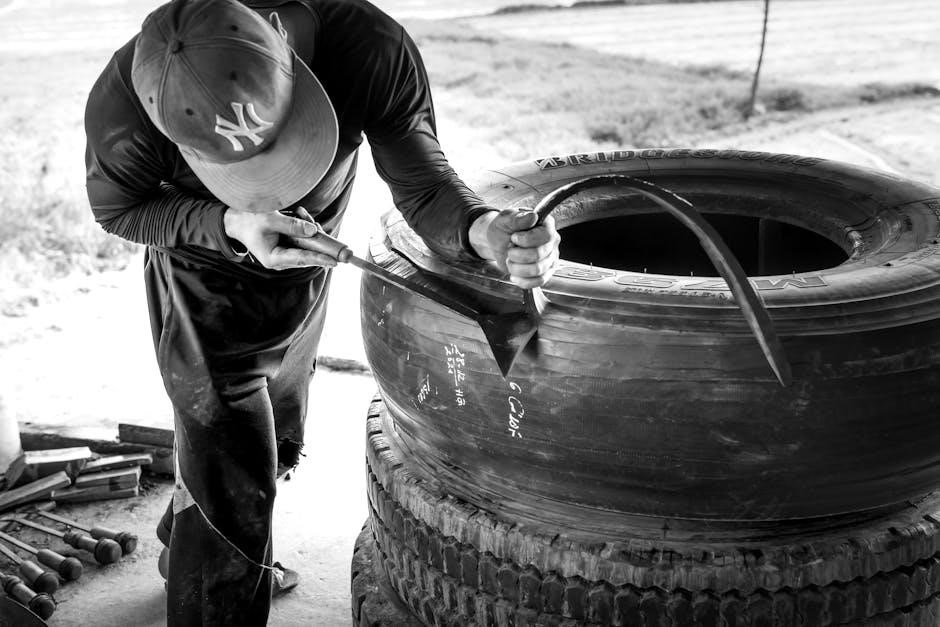
Disassembly & Component Identification
Successful repair hinges on correctly identifying dishwasher components. Begin by disconnecting power! Accessing the control panel typically involves removing screws securing it to the dishwasher’s frame. The wash pump and motor are usually located at the base, requiring removal of the lower access panel.
The water inlet valve, responsible for water entry, is generally found near the water supply connection. The drain system comprises the drain hose, drain pump, and air gap (if equipped). Familiarize yourself with each component’s location and function before disassembly. Careful observation and documentation during removal aid reassembly, ensuring proper functionality post-repair. Diagrams are invaluable during this process.
Accessing the Control Panel
To begin repairs involving the control panel, safely disconnect the dishwasher’s power supply – either unplug it or switch off the breaker. Locate the screws securing the control panel to the dishwasher’s front panel; these are typically found along the top or sides. Gently remove these screws, storing them safely to prevent loss.
Carefully pull the control panel forward, being mindful of any wiring harnesses connected to the back. Disconnect these connectors by pressing the release tabs – do not pull on the wires themselves! Once all connections are detached, the control panel can be fully removed for inspection or replacement. Document wiring positions before disconnecting for easier reassembly.
Identifying the Wash Pump & Motor
The wash pump and motor assembly is crucial for water circulation during the wash cycle. Typically located at the base of the dishwasher, access requires removing the lower access panel. The pump itself is responsible for creating water pressure, while the motor provides the rotational force.
Visually inspect the pump for any obstructions or damage to the impeller. The motor is usually directly coupled to the pump. Check for signs of overheating or electrical issues. Note the wiring configuration before disconnecting any electrical connections. Replacement often involves removing the entire assembly as a single unit, ensuring proper alignment during reinstallation;
Locating the Water Inlet Valve
The water inlet valve controls the flow of water into the dishwasher. It’s generally found where the water supply line connects to the appliance, usually at the bottom rear of the unit. Accessing it often requires removing the lower access panel and potentially some internal components for clear visibility.
The valve is an electrically operated component; when energized, it opens to allow water flow. Inspect the valve for any signs of leaks or corrosion. Before disconnecting, remember the wiring configuration. Testing the valve with a multimeter can confirm if it’s receiving power and functioning correctly. Replacement involves disconnecting the water line and electrical connections, then installing the new valve.
Understanding the Drain System Components
The Kenmore 665’s drain system comprises several key parts working in unison. These include the drain pump, drain hose, air gap (if installed), and the connection to the household drain. The drain pump actively expels wastewater, while the drain hose carries it away. An air gap prevents backflow contamination from the sink drain.
Understanding each component’s role is crucial for effective troubleshooting. Clogs frequently occur in the drain hose or pump. The drain pump itself can fail, resulting in inadequate draining. Inspect the hose for kinks or obstructions and the pump for debris. Proper maintenance, including regular cleaning, ensures optimal drain system performance and prevents potential issues.
Repairing the Control Panel
Addressing control panel issues on the Kenmore 665 often involves diagnosing unresponsive buttons or a completely blank display. Begin by verifying the power supply and ensuring the dishwasher receives electricity. Carefully inspect the control panel for any visible damage, such as burnt components or loose connections. Accessing the control panel typically requires removing screws and gently lifting the panel assembly.
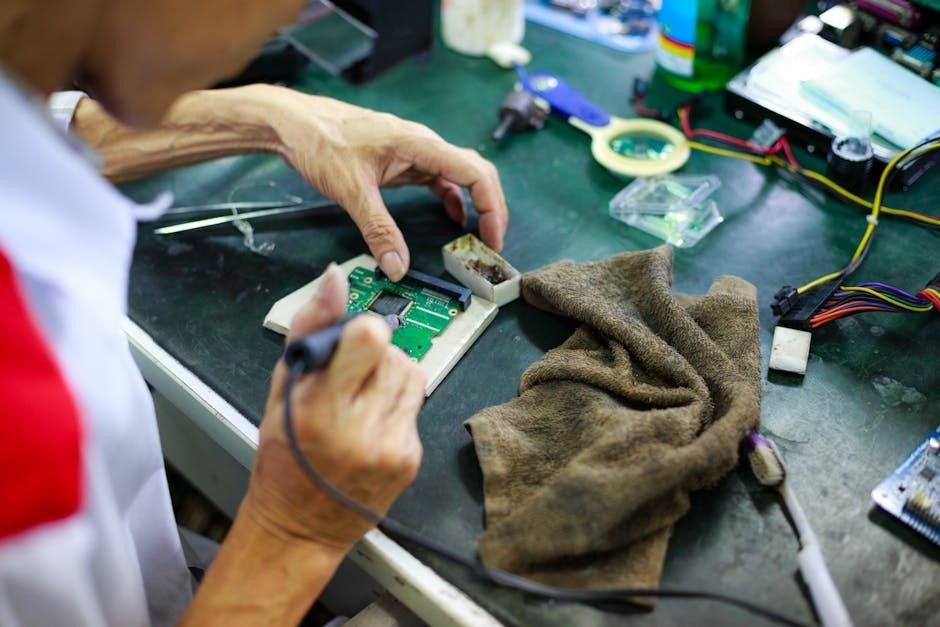
Testing individual buttons with a multimeter can pinpoint faulty switches. If the control board itself is defective, replacement is usually necessary. Always disconnect power before working on the control panel. Exercise caution when handling electrical components, and consult wiring diagrams for accurate connections during reassembly.
Wash Pump & Motor Repair/Replacement
Addressing wash pump failures in the Kenmore 665 often manifests as inadequate water circulation or a humming sound without water spray. Begin by disconnecting power and accessing the pump, usually located at the base of the dishwasher. Inspect the pump impeller for obstructions like broken glass or food particles. If the impeller spins freely, test the motor windings for continuity using a multimeter.
A lack of continuity indicates a faulty motor requiring replacement. When replacing the pump, ensure the new unit is compatible with the 665 model. Carefully reconnect all hoses and electrical connections, referring to wiring diagrams. Proper sealing is crucial to prevent leaks. Test the dishwasher after reassembly to confirm proper operation.
Water Inlet Valve Troubleshooting & Replacement
Diagnosing a faulty water inlet valve in your Kenmore 665 typically involves checking if the dishwasher fills with water. If not, first verify the water supply is turned on. Then, using a multimeter, test the valve’s solenoid for continuity. A lack of continuity signifies a failed solenoid, necessitating valve replacement. Before disconnecting, remember to shut off both the water supply and power to the dishwasher.
The inlet valve is usually located behind the lower access panel. Disconnect the water lines and electrical connectors, noting their positions for reassembly. Install the new valve, ensuring tight connections to prevent leaks. After reconnecting, restore water and power, then run a test cycle to confirm proper water intake.
Drain System Repair & Maintenance
Maintaining a clear drain system is crucial for your Kenmore 665’s performance. Begin by regularly inspecting the drain hose for kinks or obstructions. Clearing clogs often involves disconnecting the hose and flushing it with water, or using a plumbing snake. A common issue is food debris accumulating in the drain pump.
To replace the drain pump, access it from the dishwasher’s base after disconnecting power. Disconnect the hoses and electrical connections, then remove the old pump. Install the new pump, ensuring secure connections. Regularly check the air gap (if equipped) for blockages. Proper drain system maintenance prevents standing water and ensures efficient dishwashing cycles.
Clearing Clogs in the Drain Hose
A clogged drain hose is a frequent cause of dishwasher malfunctions. Begin by disconnecting the power supply to the Kenmore 665. Locate the drain hose, typically connected under the sink or to the garbage disposal. Carefully disconnect the hose from both ends, preparing for potential water spillage – have towels ready!
Inspect the hose for visible obstructions. Flush the hose with warm water, using a garden hose or utility sink faucet, to dislodge debris. For stubborn clogs, employ a plumbing snake, gently feeding it through the hose to break up the blockage. Ensure the hose is free of kinks before reconnecting. Reattach securely, and test the dishwasher’s drain cycle to confirm the clog is resolved.
Replacing the Drain Pump
If the drain pump fails, the dishwasher won’t effectively remove water. First, disconnect power! Accessing the pump usually requires removing the lower access panel. Disconnect the electrical connector and hose clamps attached to the existing pump. Note the wiring configuration before disconnecting.
Carefully remove the old pump, observing its mounting position. Install the new drain pump, ensuring proper alignment and secure mounting. Reconnect the hose clamps and electrical connector, verifying a snug fit. Before fully reassembling, manually rotate the pump impeller to confirm free movement. Restore power and run a test cycle to verify proper drainage. A faulty pump prevents complete water expulsion, leading to poor cleaning.
Resetting the Kenmore 665 Dishwasher

A simple reset can often resolve minor operational glitches within the Kenmore 665 dishwasher’s control board. The most effective method involves a complete power cycle. Begin by immediately disconnecting the dishwasher from its power source – either unplugging it from the wall outlet or switching off the corresponding circuit breaker in your electrical panel.
Allow the dishwasher to remain completely without power for a minimum of five minutes. This duration allows the control board’s internal capacitors to fully discharge, effectively clearing its memory. After the five-minute period, restore power by plugging the dishwasher back in or flipping the breaker switch. This reset procedure can often resolve error codes or unusual behavior, restoring normal functionality.
Finding Replacement Parts for Model 665
Sourcing replacement parts for your Kenmore 665 dishwasher is crucial for successful repairs. Sears Parts Direct stands out as a primary resource, offering an extensive catalog specifically tailored for Kenmore appliances. Their website provides detailed parts diagrams, allowing you to accurately identify the components you need based on your dishwasher’s model number.
When searching, having the complete model number (e.g., 665.13869K602) is essential for ensuring compatibility. Beyond Sears, online retailers specializing in appliance parts can also be valuable. Always verify the part’s suitability before purchasing, checking for cross-references and customer reviews. Prioritize genuine Kenmore or equivalent high-quality replacements to maintain performance and longevity.
Kenmore 665 Dishwasher Wiring Diagrams
Accessing accurate wiring diagrams is paramount when tackling electrical repairs on your Kenmore 665 dishwasher. These diagrams illustrate the connections between components, aiding in troubleshooting and safe component replacement. While a dedicated, publicly available comprehensive wiring diagram specifically for the 665 model can be challenging to locate directly online, the service manual – if obtainable – will contain these crucial schematics.
Sears Parts Direct may offer limited wiring information alongside parts diagrams. Appliance repair forums and online communities dedicated to Kenmore appliances can also be valuable resources, as members often share diagrams or provide guidance. Always disconnect power before working with electrical components, and exercise extreme caution when interpreting and applying wiring information.
Preventative Maintenance Tips
Regular preventative maintenance significantly extends the lifespan of your Kenmore 665 dishwasher and minimizes the need for costly repairs. Periodically inspect the spray arms for clogs and remove any food particles obstructing the nozzles. Run a dishwasher cleaner cycle monthly, utilizing a commercially available product designed to eliminate buildup and odors.
Check the door gasket for cracks or damage, ensuring a tight seal to prevent leaks. Clean the filter located at the bottom of the dishwasher after each few uses to maintain optimal drainage. Avoid overloading the dishwasher, as this can strain the motor and wash pump. Finally, verify proper detergent usage to prevent residue buildup and ensure effective cleaning performance.
Resources for Further Assistance
For additional support with your Kenmore 665 dishwasher repair, several valuable resources are readily available. Sears Parts Direct provides extensive parts diagrams and manuals, facilitating accurate component identification and ordering. Online appliance repair forums and communities offer a platform to connect with experienced DIYers and professionals, sharing knowledge and troubleshooting tips.
Kenmore’s official website allows downloading appliance manuals and accessing customer support channels. YouTube hosts numerous instructional videos demonstrating common Kenmore dishwasher repairs. If you’re uncomfortable tackling the repair yourself, consider contacting a qualified appliance repair technician for professional assistance, ensuring safe and effective resolution of the issue.